Staff portfolio
Each staff member can build their own photo portfolio -- a collection of their best work. You add photos per staff member, choose which ones are public, and share a clean public page that clients can browse before they book.
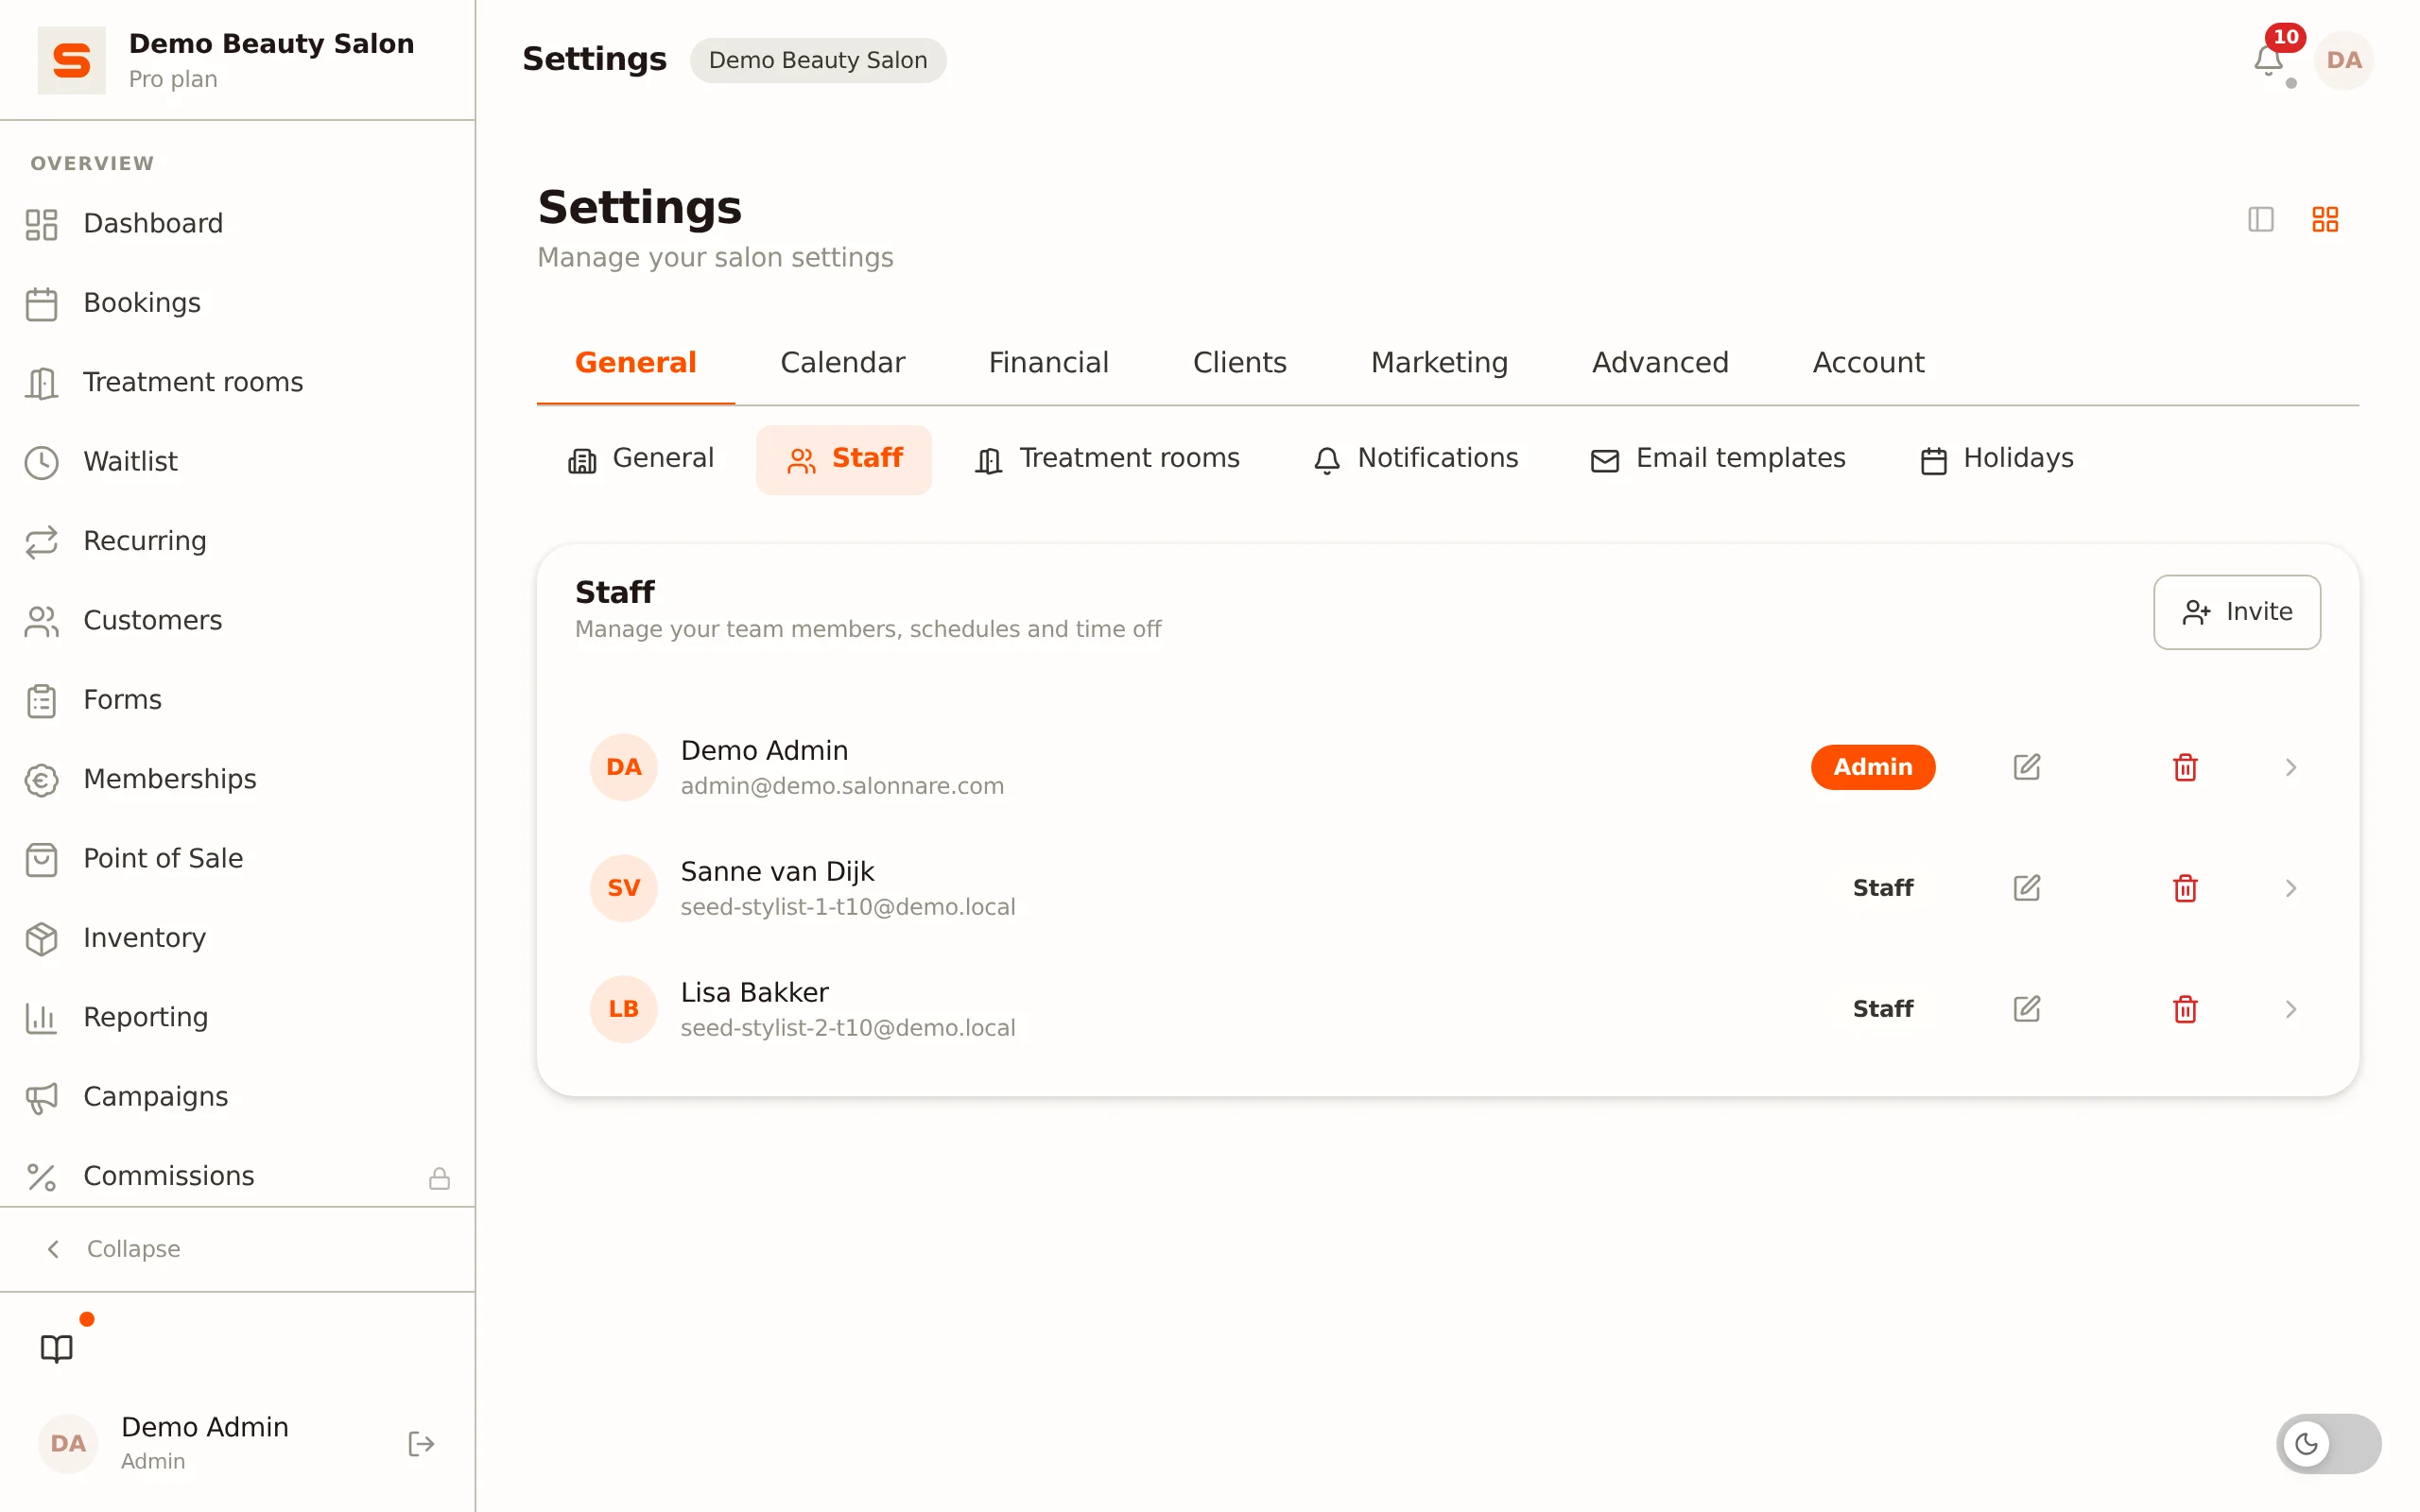
Where to find the portfolio
You manage the portfolio per staff member, from the staff settings:
- Go to Settings > General > Staff.
- Click the staff member to expand the row.
- Open the Portfolio tab. Here you see the item count and a grid of the existing photos.
Only an administrator can manage portfolio items. Adding, editing, reordering and deleting photos requires administrator rights.
Adding a photo
- In the Portfolio block, click Add item.
- Choose a main photo. This is required -- it is the photo shown in the grid and on the public page. Allowed formats: JPG, PNG, WebP and GIF (max 8 MB).
- Optional: choose a before photo. If you add one, the item is shown on the public page as an interactive before/after comparison (a slider across the two photos).
- Optionally fill in a title, a category (for example "Balayage" or "Bridal updo") and a description.
- Click Add item to save.
After uploading, photos are automatically optimised (resized and converted to WebP) so the public page loads fast.
If you pick several photos at once as the main photo, each photo becomes its own item. A title and before photo are then dropped; you add those per item afterwards via edit.
There is a limit of 50 portfolio items per staff member. That is plenty for a strong showcase; if you reach the limit, delete older items to make room.
Linking a photo to a client
When adding or editing an item you can optionally link it to a client. Type at least two characters in the search field to find a client and select the right one. The photo then also appears in the photo history on the client card.
Linking a photo to a client and also making it public? Ask the client for consent first. The app shows a reminder whenever a linked photo is set to public. Without consent, identifiable client imagery does not belong on a public page (GDPR).
Public or private
Each item has a Show publicly toggle:
- Show publicly on (default): the photo appears on the staff member's public portfolio page.
- Show publicly off: the photo stays private. It is never visible on the public page -- useful for photos you only keep on the client record or for internal use. Private items get a Private badge with a crossed-out eye in the management grid.
Featured and ordering
- Turn on the Featured toggle to highlight an item. Featured items appear at the top of the public page and get a star badge.
- Use the up/down arrows below each item to set the manual order. On the public page, featured items come first, then the rest in the order you set.
Editing or deleting a photo
- Edit (pencil icon): change the title, category, description, client link, featured and public/private settings. You do not replace the photo itself through editing -- to do that, delete the item and add it again.
- Delete (trash icon): permanently removes the item and its photos. You are asked to confirm.
What does the public page look like?
The public portfolio page shows the staff member's name and a grid of all public items, featured first. There, clients see:
- Photos in a tidy grid, with title, category and description where filled in.
- Before/after items as an interactive slider to show the difference.
- A Book now button at the bottom that leads straight to the booking page, with this staff member pre-selected.
Clients reach this page through the View portfolio link next to the staff member, in the step of the online booking page where they choose a staff member.
This lets clients first browse a staff member's work and then book an appointment with exactly that person in a few clicks. See Online bookings for more on the public booking flow.