Branding (colours and logos)
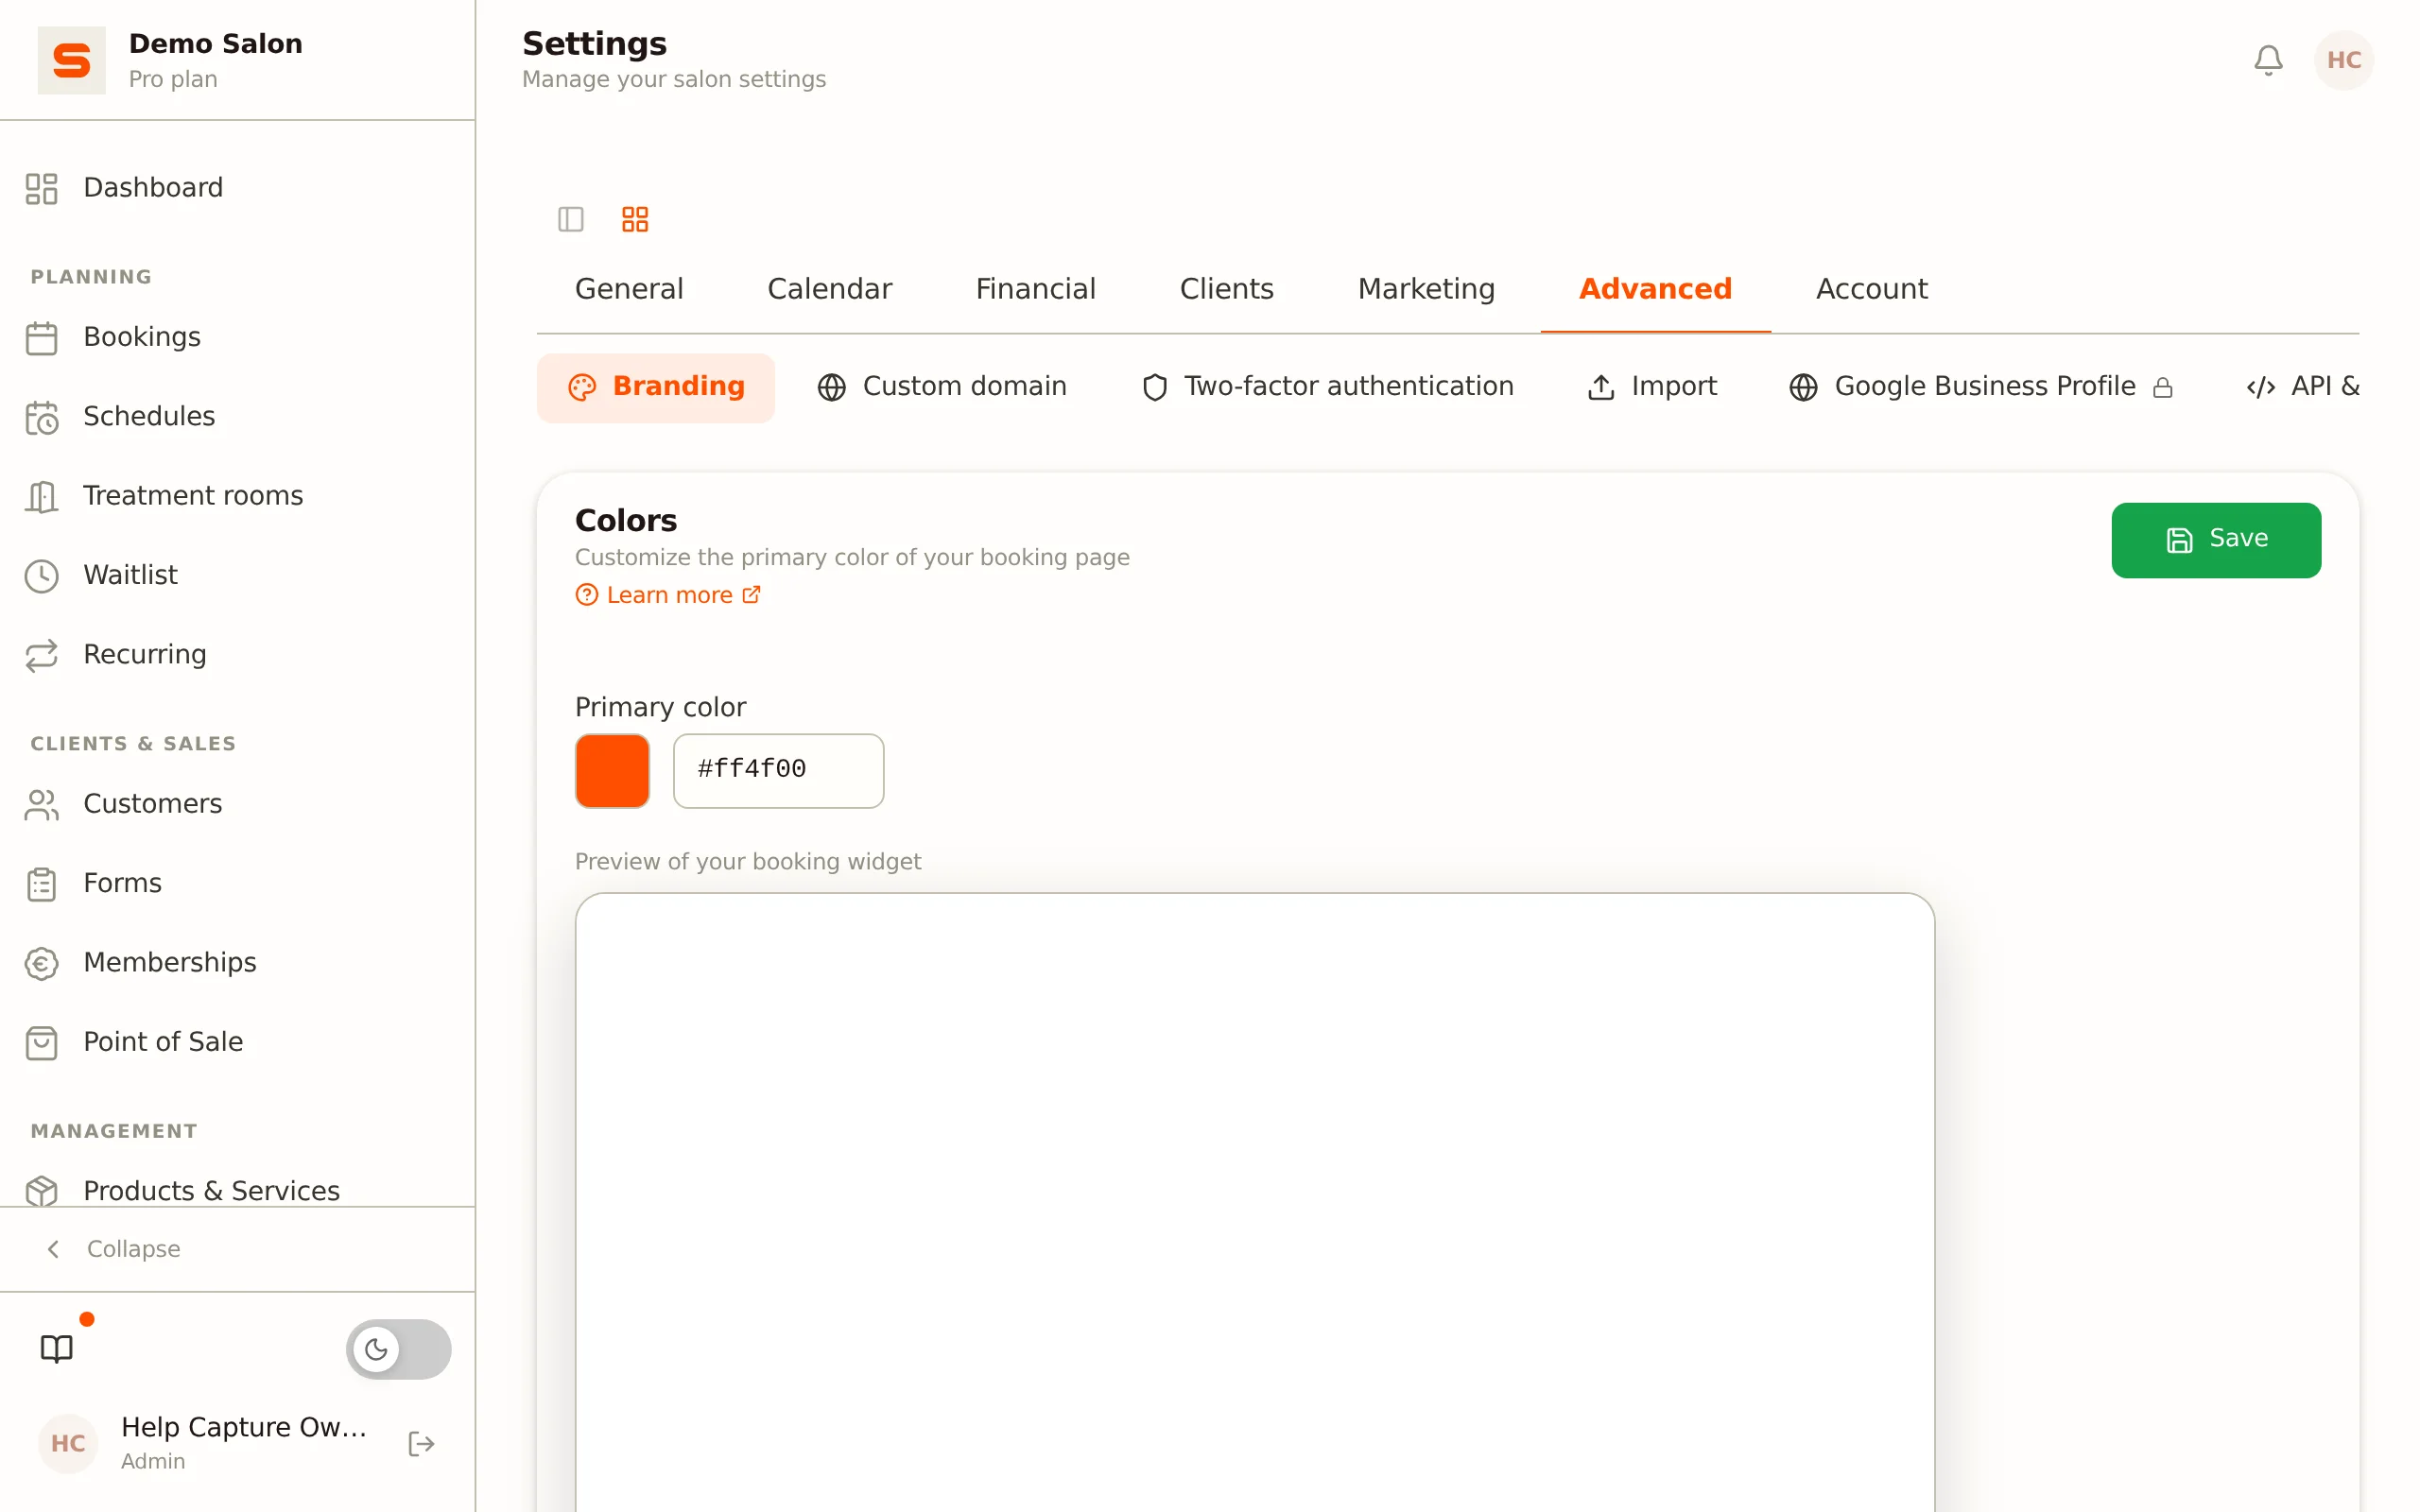
The branding settings let you make Salonnare visually your own. You determine the colours of your automatic emails and the logos on your booking page and emails, so everything your client sees matches your salon. You'll find it under Settings > Branding.
Email colours
Under Email colors, you determine how your automatic emails look. These colours apply to all emails with brand styling (confirmations, reminders, receipts and more):
| Setting | What it does |
|---|---|
| Accent color | The colour of bars and headings in your emails. |
| Button color | The colour of buttons (calls to action such as "Pay deposit"). Leave this empty and the button automatically uses the accent colour. Use Reset to accent color to restore it. |
| Email background color | The background colour around the email. |
Each colour is saved as soon as you close the colour picker.
Logos
Under Logos, you upload logos that appear in different places:
- Booking page -- the logo at the top of your online booking page.
- Emails -- the logo at the top of your automatic emails.
If you leave one of these empty, Salonnare falls back on your general salon logo from Settings > General. Use Email logo height to set how large the logo appears in your emails (between 16 and 160 pixels).
Use a logo with a transparent background (PNG) for the cleanest result, especially if you choose a coloured email background.
White-label: hiding the badge
By default, a small "Powered by Salonnare" badge appears on your booking page and in your emails. Use the Hide "Powered by Salonnare" badge toggle to remove it, so everything appears entirely in your own branding.
Branding and white-label are part of the Pro plan (EUR 59 per month). On a lower plan, you'll see the options, but they're disabled with an upgrade hint. See Subscription & billing.
Related topics
- Email templates -- the content of your emails, where these colours and logos are automatically applied.
- Online Bookings -- you set the primary colour, background photo, font and tagline of your booking page under Settings > Booking link & widget.