Email Campaigns
Want to tell your clients about a seasonal promotion, announce a new service, or just stay in touch? With the campaign feature you design professional emails and send them to exactly the right group of clients -- no separate email tool needed.
Creating a campaign
- Go to Campaigns in the sidebar.
- Click New campaign.
- Work through the four steps of the campaign wizard: Basics, Audience, Template, and Review.
At the top you can click Save as draft at any time to keep your work and continue later.
Step 1 -- Basics
- Give your campaign a campaign name (only you see this, for example "Spring promo 2026").
- Write the subject line your clients see in their inbox. The subject is required.
Step 2 -- Audience
This is where you decide who receives the email. You can filter your client list by:
- Clients with an email address only -- a switch that excludes clients without an email address.
- Labels -- click the client labels you've set up (such as "VIP" or "New client"). Only clients with those labels are selected.
- Last visit (days ago) -- target, for example, clients who haven't visited in more than 60 days.
- Minimum total spent -- reach your biggest spenders from a certain amount.
In addition, via Select specific clients you can add clients by hand by searching on name or email. These are merged with your filter selection.
Click View count to see how many clients currently match your audience.
Step 3 -- Template
Design your email with the built-in drag-and-drop builder. You drag blocks (text, image, button, divider) into the email and adjust colours, font, and layout. The email is automatically made responsive so it looks great on desktop and phone.
Personalise with merge tags that are filled in per client at send time:
{{clientName}}-- the client's name.{{salonName}}-- your salon name.{{salonAddress}},{{salonEmail}},{{salonPhone}}-- your contact details.
Step 4 -- Review & Send
- View a fully rendered preview of your email with sample data (no raw
{{tokens}}). - See a summary of your name, subject, filters, and the number of recipients.
- Don't want to send right away? Turn on Schedule for later and pick a date and time.
- If everything looks right, click Send.
Your campaign is sent in the background -- no need to wait. You can close the page and come back later to view the results.
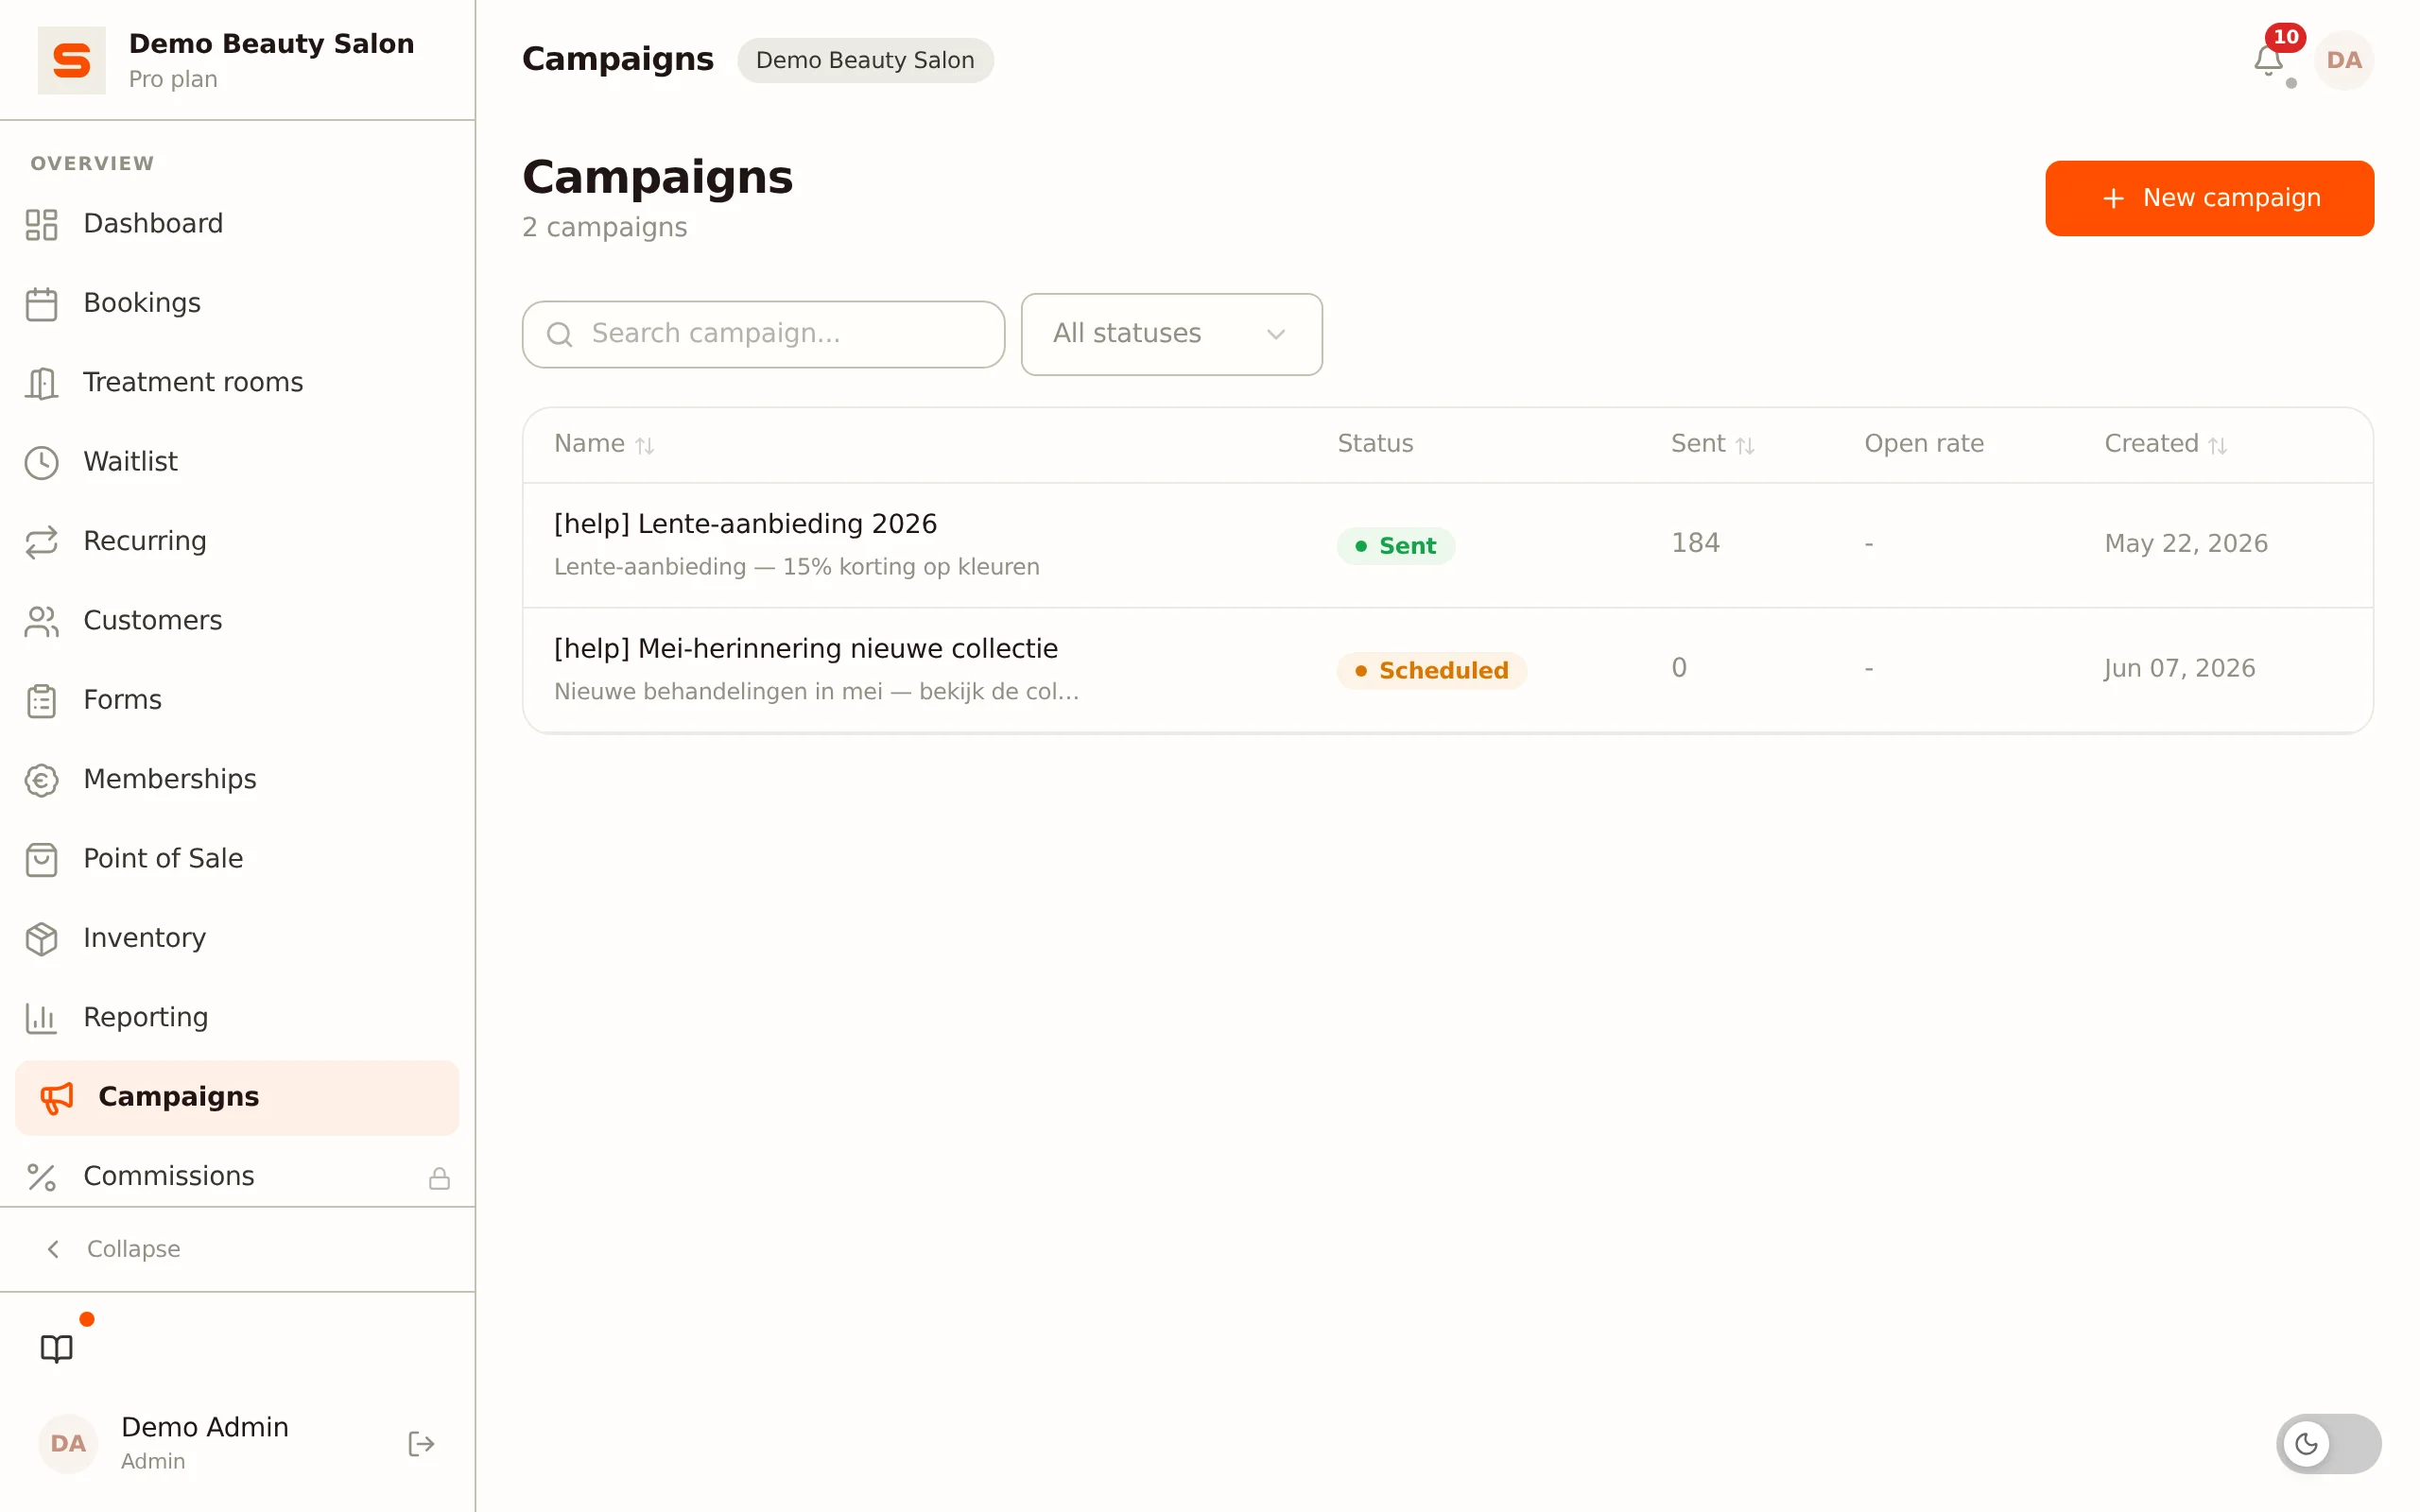
Viewing campaign results
After sending, go back to your campaign to see:
- Recipients -- how many clients matched the audience.
- Sent -- the number of emails sent.
- Open rate -- how many recipients opened the email.
Sending domain and deliverability
Since 9 May 2026, Salonnare sends campaigns from your own sending domain -- <yoursalon>.mail.salonnare.com. On your first campaign we automatically provision DKIM, SPF, and MX records on our side, so Gmail and Apple Mail accept your mail as legitimate. Read Settings for how to check this per salon.
Unsubscribing and compliance
Every marketing email is required to include:
- An unsubscribe link at the bottom of the footer.
- A
List-Unsubscribeheader (RFC 8058) and aList-Unsubscribe-Postheader. Gmail and Apple Mail therefore show a one-click unsubscribe button at the top of the email. - The identification of your salon in the footer (trade name, address, registration number if available).
When clicking the unsubscribe link, the client lands on a public page (/campaign-unsubscribe) where they confirm with one click. This meets EU rules (Telecommunications Act article 11.7 and GDPR) and the RFC 8058 requirements Gmail has made mandatory for bulk senders since February 2024.
In addition, clients can register a marketing opt-out in their profile. See Clients for the contact preferences.