Using the waitlist
A fully booked day is a nice problem to have -- but you do not want to lose a client because there is no slot. That is what the waitlist is for. Add clients who want an appointment, and when a slot opens up you can notify them with a click.
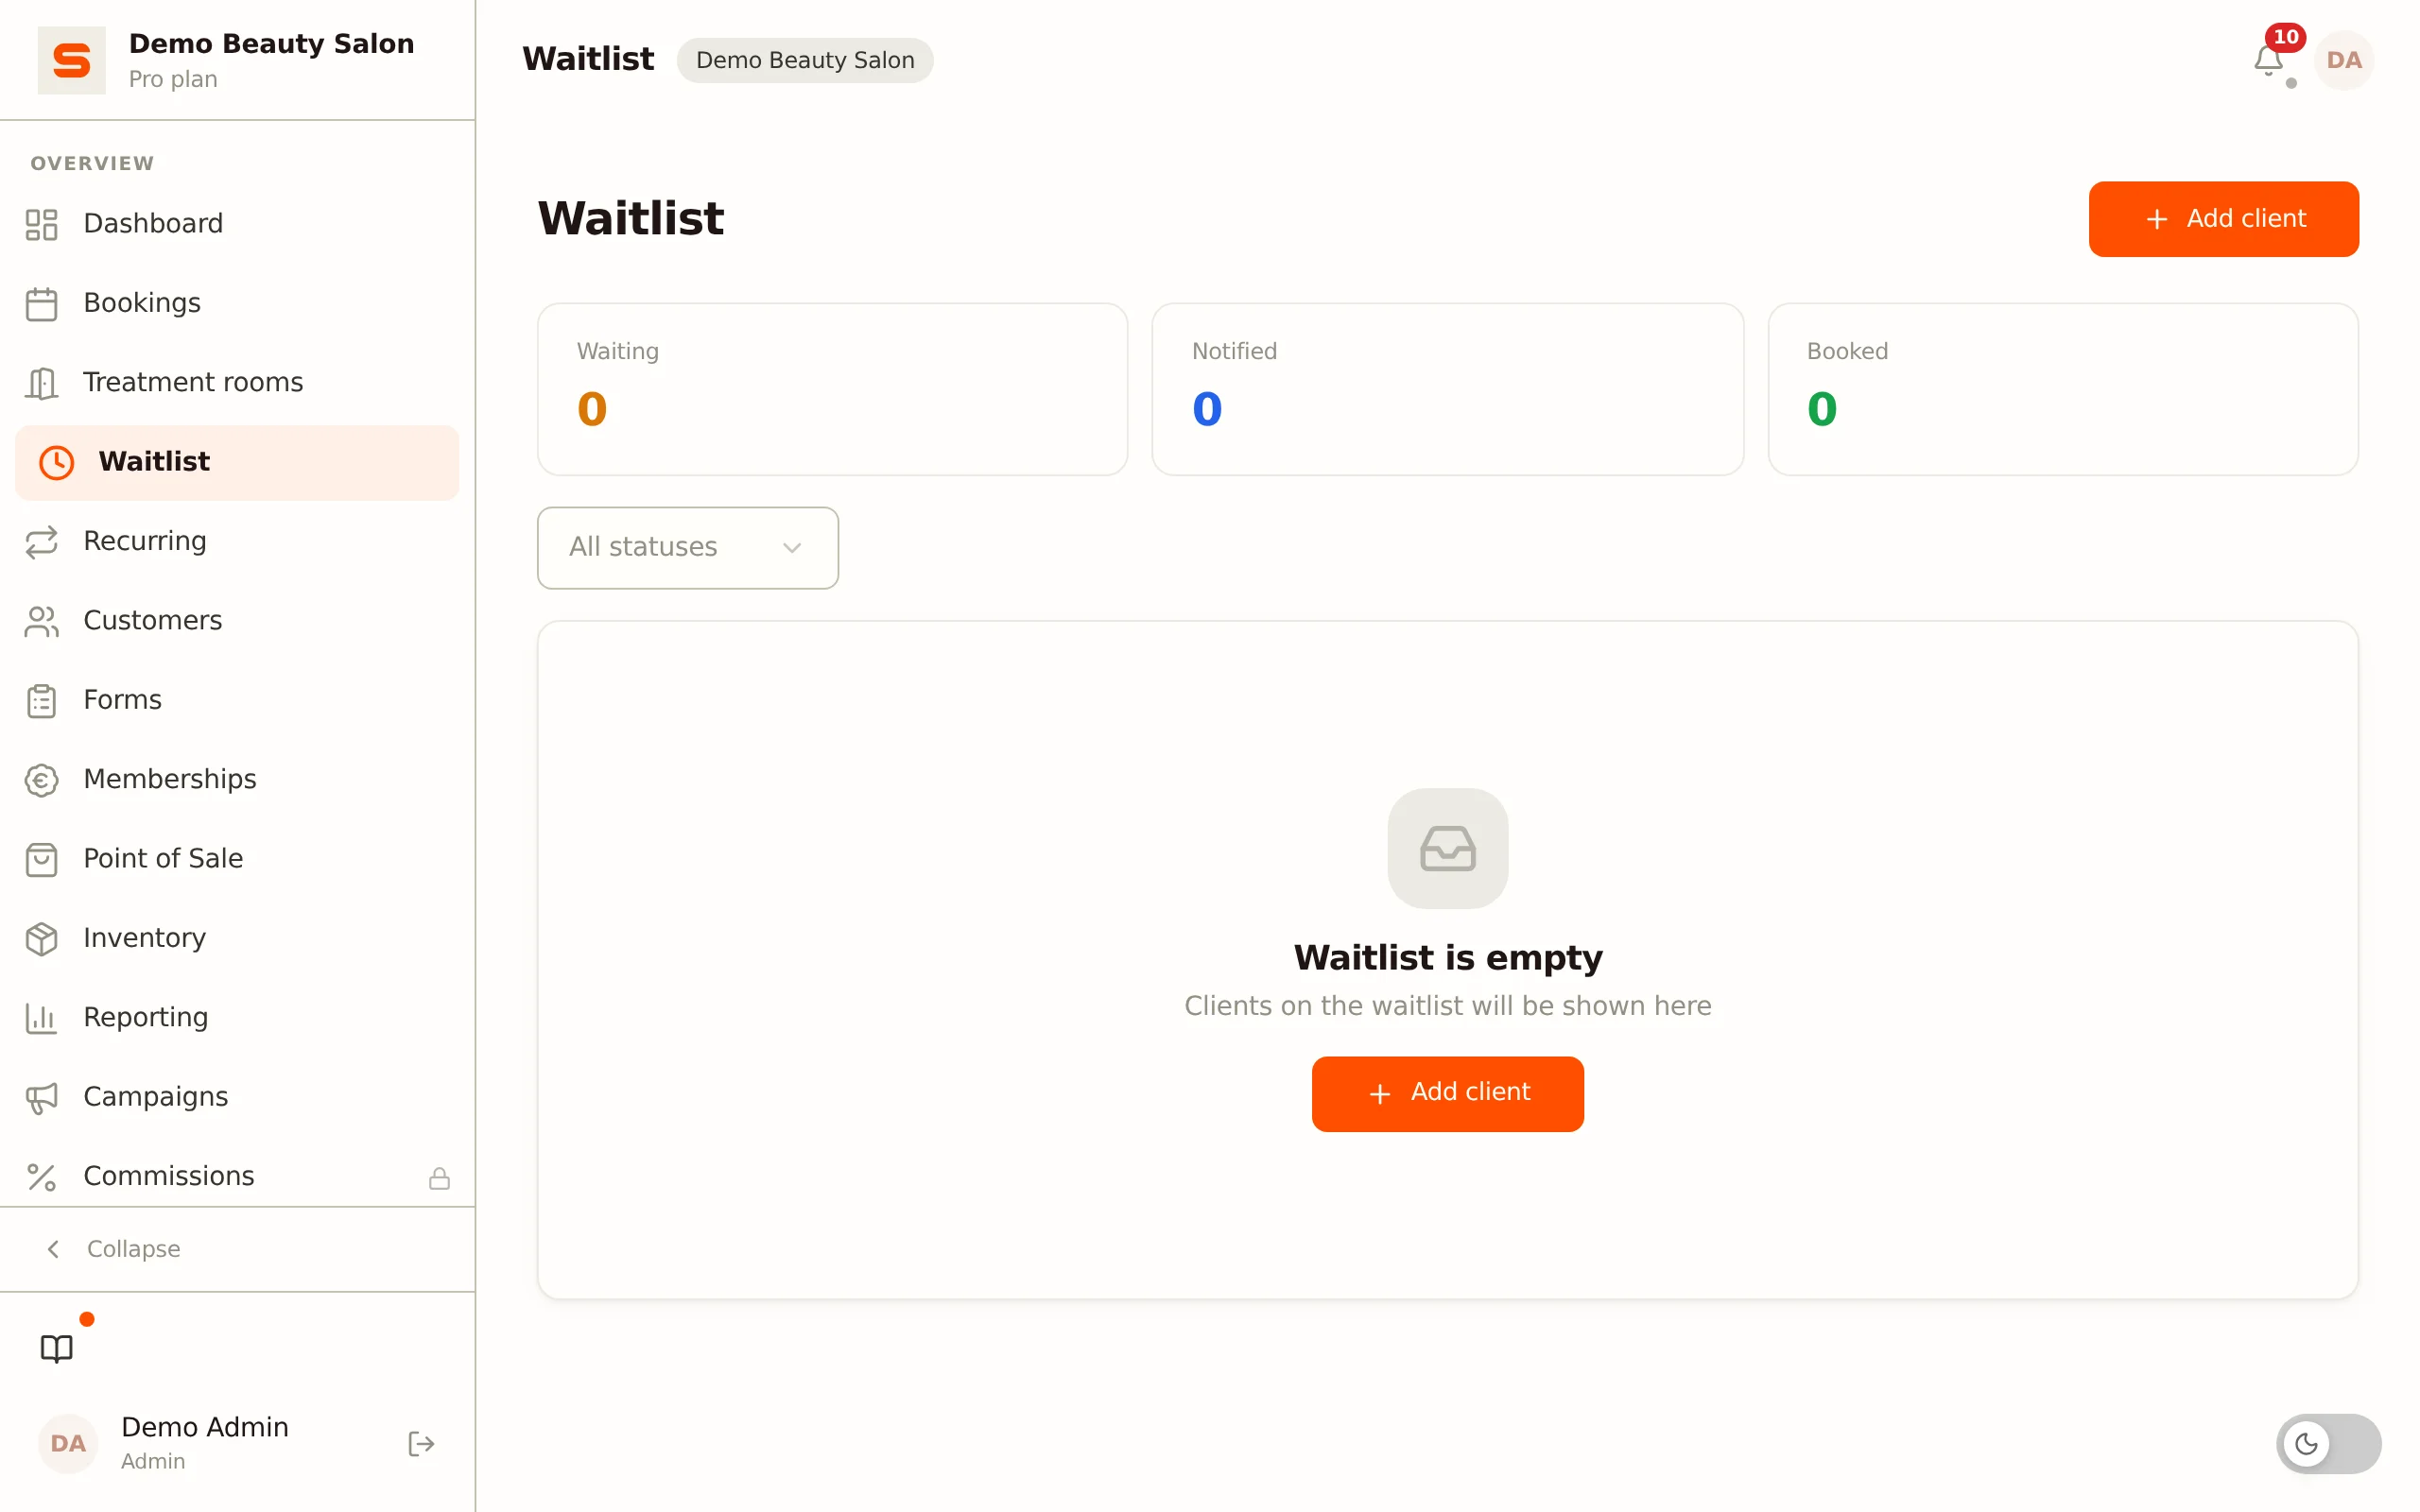
The waitlist has its own page in the menu: Waitlist.
Adding a client to the waitlist
- Open Waitlist in the menu.
- Click Add client.
- Fill in the details:
- Client -- search the client by name.
- Service -- which treatment they want.
- Preferred date -- roughly when they want to come.
- Preferred time -- the desired time (the end time is derived from the treatment's duration).
- Notes -- anything worth recording (for example, "only available in the mornings").
- Click Add client.
Waitlist statuses
Each waitlist entry has a status so you know exactly where things stand:
| Status | What it means |
|---|---|
| Waiting | The client is actively waiting for an opening. |
| Notified | You have sent the client a message about a possible free slot. |
| Booked | The slot was accepted and turned into an appointment. |
| Declined | The entry has been cancelled (by you or the client). |
At the top of the page you see counters for the number of waiting, notified and booked clients. You can filter by status.
Notifying a client when a slot opens up
When someone cancels or you have a last-minute opening:
- Open the Waitlist page.
- Find the client who fits the free slot.
- Click the Contact icon (the message icon) on the entry.
- Type your message (for example, "A slot has opened up on Thursday at 14:00 -- let me know if it works for you").
- Click Send. The client receives your message by email and the status moves to Notified.
Did the client respond and want the slot? Then click the Accept icon (the check mark) to set the entry to Booked. Want to close the entry? Click the Decline icon (the cross) -- the client then receives an email that the registration has lapsed.
Removing an entry
Click the bin icon or set the entry to Decline to close it. If the entry was still waiting or notified, the client automatically receives an email that the registration has lapsed.
Keeping it tidy
Review your waitlist regularly and close entries for clients who have been waiting too long or have already found an appointment elsewhere. A clean waitlist helps you respond quickly when openings come up.
Looking for more ways to manage your schedule? Check out Managing appointments or set up Online bookings.